Showing posts with label cards. Show all posts

Sunday, November 30, 2014

Sparkle


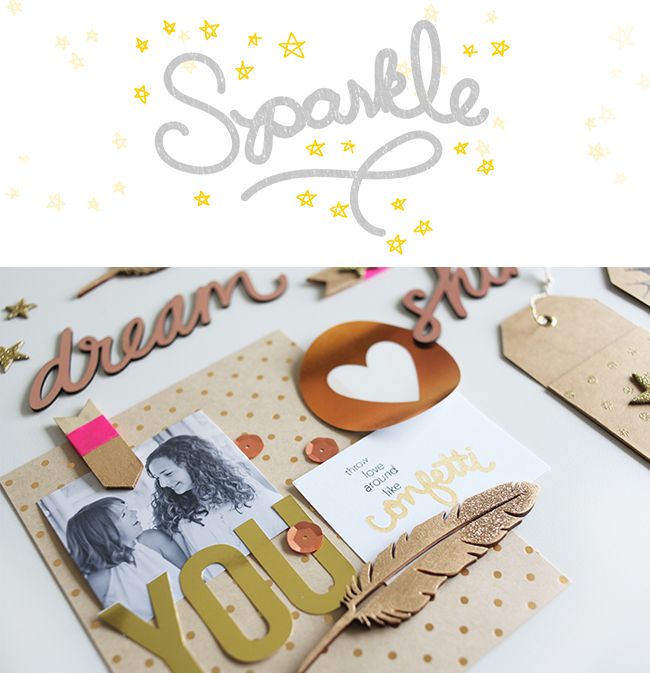
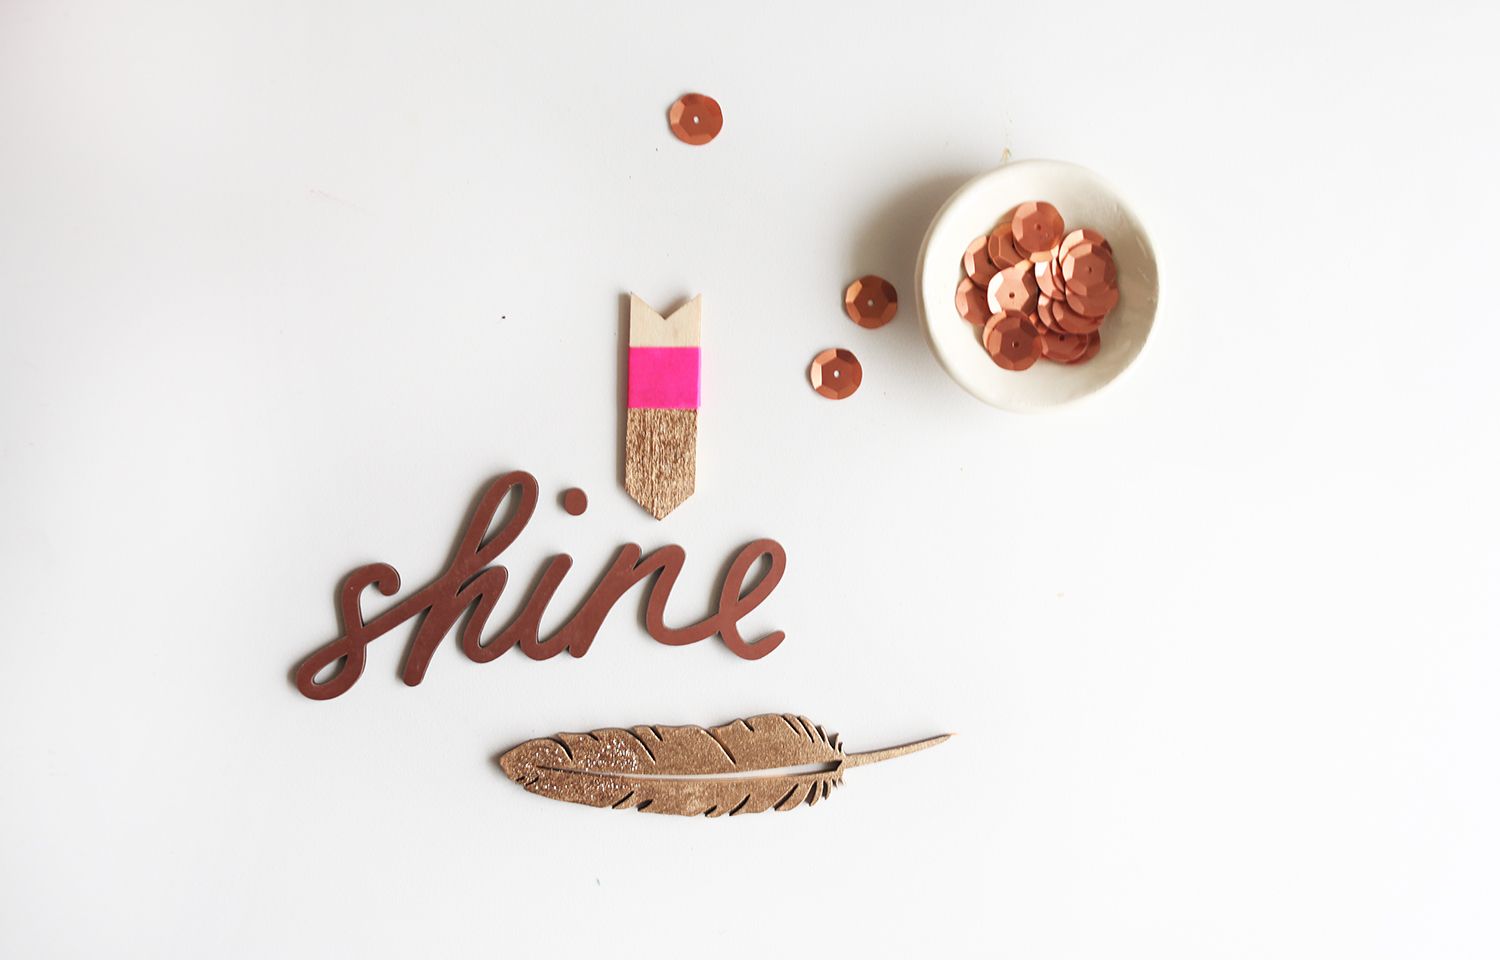
I know it's December 1st and you are thinking about Christmas but just for a tiny moment I would love for you to think about 2015 and tell you that we need to start it off right with a bit of SPARKLE!!!! Come ring in the New Year with me in STYLE!!! 2015 is all about mixing metallics and what a fun trend to bring into our paper crafting! I look forward to exploring different ways of mixing metallics and bringing a little glimmer to your pages!! We will take the metallic trend and explore different ways to mix it with your current products, look at them in new ways and try new techniques. We will use these lessons in cards, scrapbook layouts, project life as well as DIY home decor etc!


I am excited to be working along side some of the BEST in the industry including  Adrienne Alvis, April Foster, Barbara Picnich, Carly Robertson, Ginny Huges, Janine Langer, Jocelyn Olson, Maggie Massey, Robyn Werlick and Tracy Armstrong!!! I know they will inspire you as they give you that "ah-ha" moment through their innovative projects! 


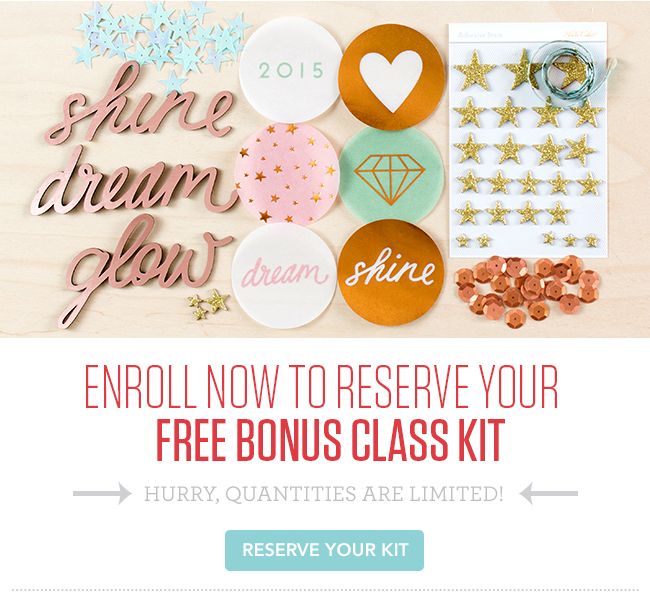
Sign up here to reserve your spot in class and receive a class kit! Supplies are limited on the kit so don't wait until the new year! This would make a great Christmas Gift also so send your love ones on over!

Of course we couldn't have a SPARKLE class without a fun stamp set to really set the mood!! I designed this stamp set with the "sparkle" on theme in mind! I hope you enjoy it!

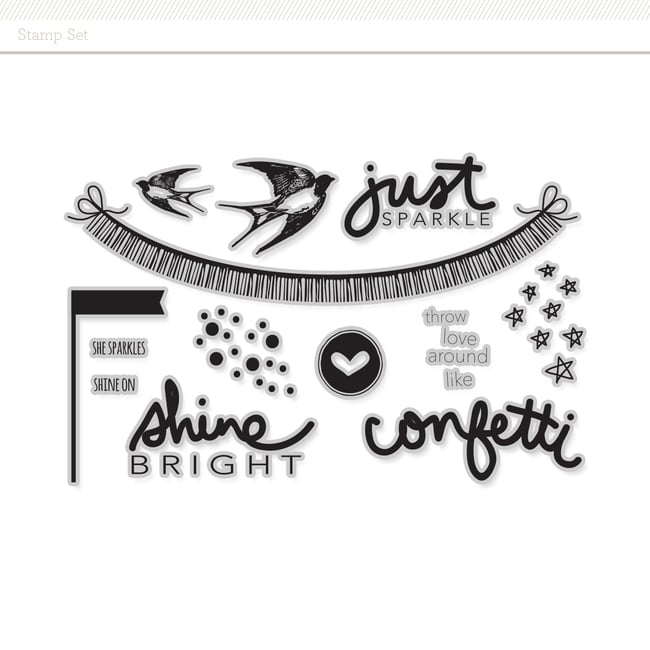
You can pick up your stamp set here.


So what do you say are you ready to SPARKLE for 2015? 


go.be.inspired.
Shanna


Friday, April 4, 2014

5 min card | quite the pear


While I can appreciate a heavily decorate card, there is always a place in my heart for a super simple, modern in design card. I love that the sentiment takes center stage. Today I wanted to share with you a simple idea that comes together with some whimsical fabric and Studio Calico metal dies. This stamp and die set was from a couple month's ago and is currently sold out. But this month there is a very similar set in the Bluegrass Farm Card kit along with a matching die (which p.s. I just added to my cart because with all the amazingness at reveal I forgot it. YIKES!). 


First get all your supplies ready. For this card I decided to use my die with some fun fabric! I have a soft spot in my heart for this bird fabric, in my opinion it's perfect for ANY project apparently because you will see it on MANY many MANY of mine!


I have a big shot that I use with my metal dies and I am still learning how to use this bad boy, but when I cut fabric, I use a couple pieces of cardstock under my fabric to help shim it a tiny bit and give it a nice solid cut. If that doesn't work for you, just keep trying different things until you find what works!


I love the immediate gratification you get from using these dies! So much fun, and very easy. It is also super simple to go ahead and cut out a dozen pears while you are at it and have some on hand!


Now this is one of the things I really love about these dies, you can EASILY place them where you would like and create a negative image as well.  So here I made a card base using solar white cardstock.  I laid it on my big shot and placed the die where I want the fabric pear to peek through. I know I am going to stamp a sentiment below this, so I am making sure to leave enough room at the bottom there to do that. 


This is the first time I have made a card like this so at this point, when I saw that my vision as going to work .. I got really excited. Do you do that to? I love how SIMPLE this card is, but special at the same time. The little peek-a-boo window helps to take it to the next level! 


Use a little adhesive of your choice on the back. Make sure to add a little to the "leaf" part as that is the most likely to get caught on the cardstock during opening and closing. 


This stamp set from the Antiquary card kit had the cutest little sentiments on it, I loved this one that says "quite the pear". I used my stazOn jet black ink pad and arcylic block and centered it below the pear. 


At the last minute I decided to add a little pink heart to really bring attention to the "pear" of love birds there. This would be perfect for an anniversary card, a card for your significant other, or even a casual wedding card! 

I hope you enjoyed this quick tutorial!
go.be.inspired.

xox
Shanna


Tuesday, December 10, 2013

3 cards in 15 mins - inspired by 1 layout


Happy Tuesday! One of my goals for 2014 is to send more letters, cards etc. I feel silly when I am in a pinch and need to send out a card and end up pulling out one of the pre-made ones I have tucked in a drawer. I mean, HELLO I have a craft room full of products that inspire me, there really is no excuse. But the one I often like to make is "I have no time!", does that sound familiar?  So I set out with some goals.

1. Make three cards in 15 minuets. 
2. Find inspiration in work I have already created
3. Use the kit I have on my desk. 

The kit sitting on my desk was Blue Note


The layout I decided to take my inspiration from 


I simply used the scraps on my desk that I had out from making my Blue Note projects. 


Then I made 3 card bases with white card stock and started with the same composition on each card. Simply using the washi tapes that came in the kits, and a piece of paper in the same manner. 


I took 3 labels and added them to the cards as well as the adorable stickers. 


I also knew I wanted to add the sewing detail that 
I had on my layout so I added that quickly to all of my cards.


From there I had the base of the design done and started to
 design each card on it's own with the supplies I had right around me. 


I always cut all my cut files for the month on white right when
 I get them to have them on hand so the "believe" was an easy add! 


I love that after only 15 mins and simply using the supplies I already had out I now have 3 cards ready to send out to some of my favorite people! 

So here is my challenge for you! The next time you make a layout, take 15 mins. afterwards and make a couple cards! Link me up, I would love to leave you some love!! 

xox