

1. Use your favorite circle punch to cut out some circles. 2. "Pinch" the sides together to create the look you are going for. Then I flipped the circle over and measured the square it made on the backside of the circle. I used some cardstock to make a template the size of the square. 3. Cut out as many cirlces from all of your favorite pattern papers as you might need. 4. Use the square template and a bone folder to create all of your fun pinched circles. 5. Arrange in a playful manner on your page! *Tip* You can also use the square template to cut photos to go inside your adorable pinched circles.
Here is my finished page


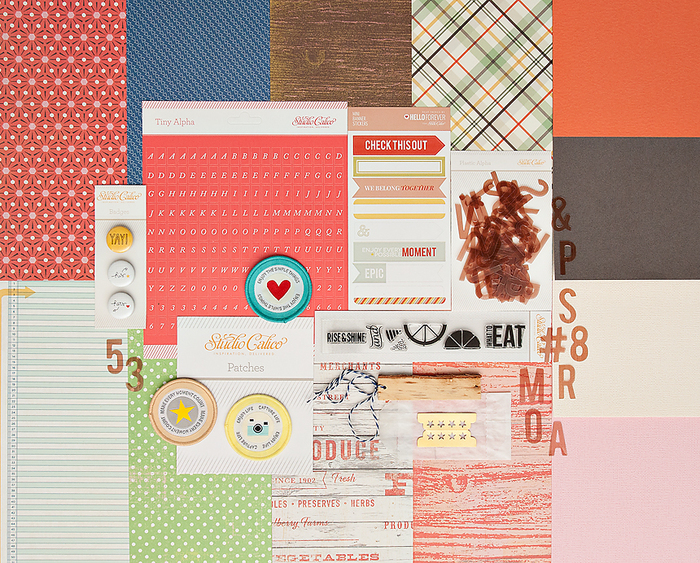
The papers in the Bluegrass Farm kit from Studio Calico were just SO much fun to play with, and the woodgrain plastic alphas are the perfect addition to any page.
So what do you say? Are you going to give it a try?
If you do, I would love to see and leave some love!
See you soon!
xox
Shanna
This is beautiful simplicity! Great Shanna!
ReplyDelete